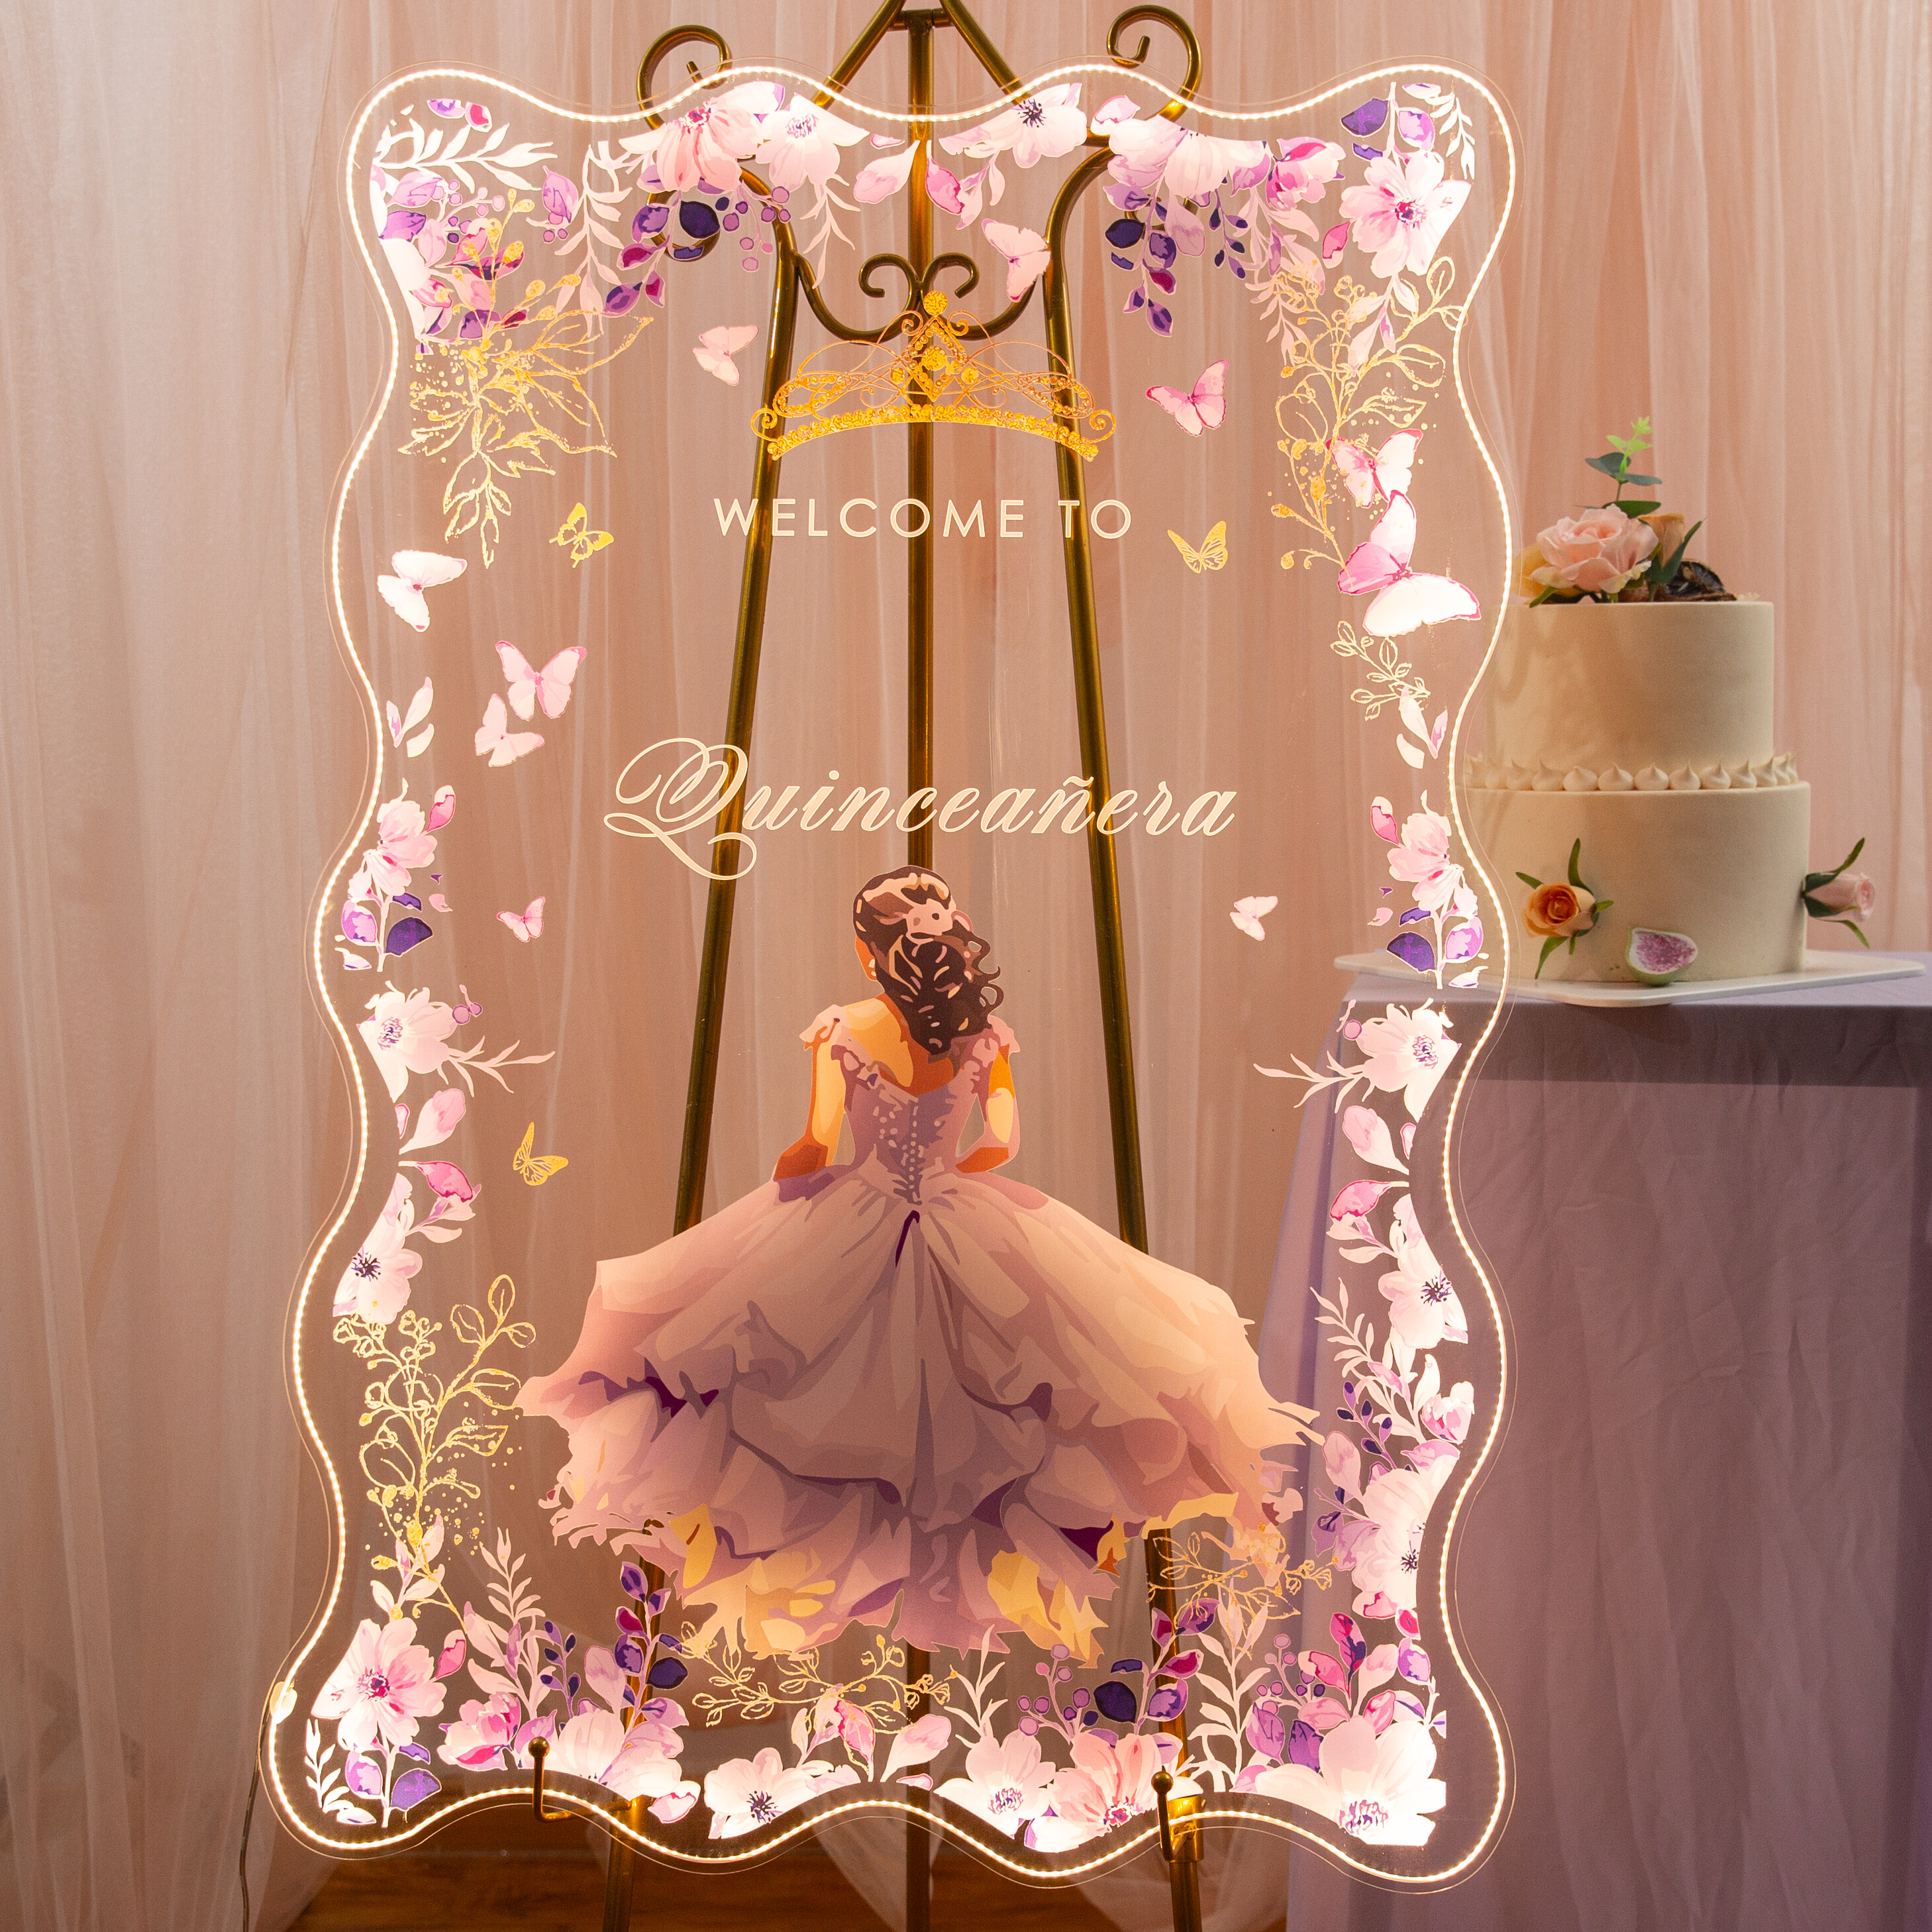
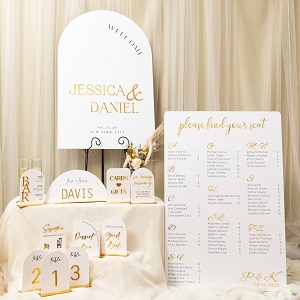
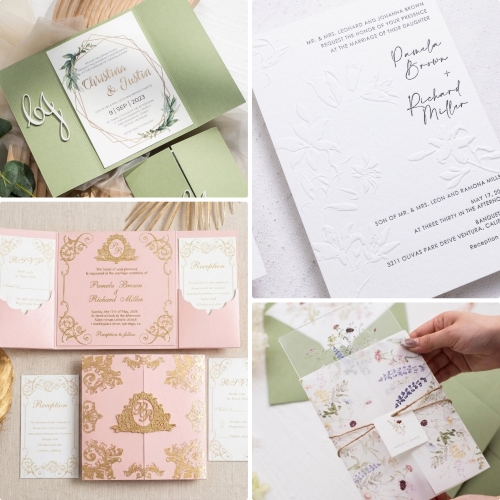
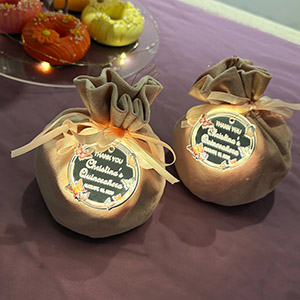
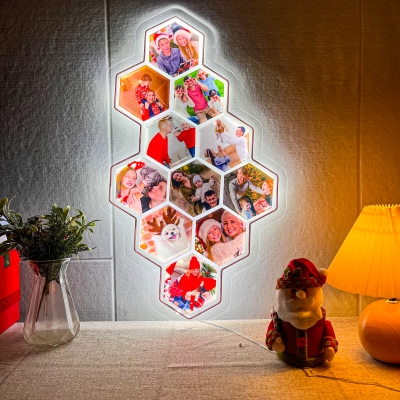
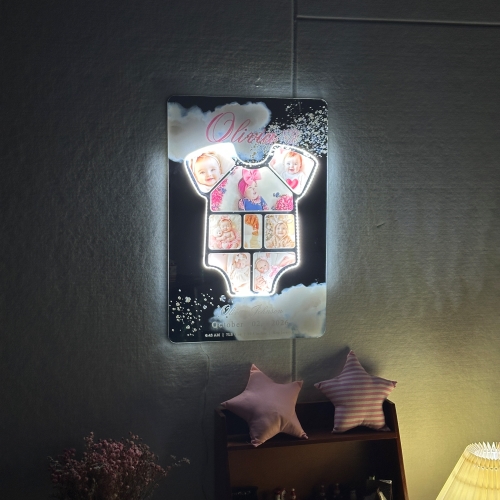
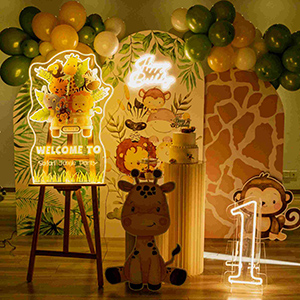
Our products are primarily divided into main categories: LED greeting cards, cake toppers, frames and flower decors etc.
Led Decorations
We have introduced many exquisite products in the Decorations category. We have categorized our products based on different event needs, including: LED greeting cards, cake toppers, frames and flower decors.
If you need any further information or specific details, feel free to ask!
How to place the products?
To order a product like a sign with design GLGH001 follow these steps:
Step 1: Click on the product details page.
Step 2: Select size, quantity, material, and printing method.
Step 3: Leave any special requirements in the designated section.This ensures your order is processed efficiently and meets your needs.
How to check your order status
Step 1: Log in to your account and click “My Account”.
Step 2:Scroll down to view your current order status.
Proof Stage
Your order is pending confirmation. We're preparing eproofs for your review. Production begins ONLY after you approve it.
Production
Your item is now being sourced or manufactured.
Under Inspection
We're quality-checking and preparing your order for shipment.
Shipped
Your order is on the way! Track delivery via your account.
Delivered
You already received your order!
Acrylic Processing Techniques – UV Printing vs. Foil Printing vs. Screen Printing
How to Identify Different Acrylic Printing Methods
1.UV Printing
The printed surface has a slightly raised texture, creating a tactile effect.
2.Foil Printing
The backside of the Hot Stamping acrylic will appear silver due to the foil transfer process.
3.Screen Printing
Unlike hot stamping, the backside of the acrylic will match the color of the front.
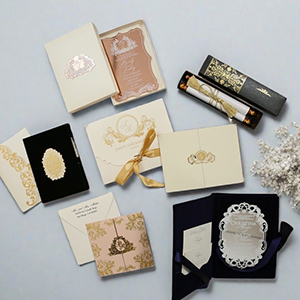
Letterpress
Letterpress printing is one of the oldest printing methods, valued for its unique look and tactile quality.
The process begins with making the printing plate and carefully setting the paper into the press. As the machine operates, each impression applies both ink and pressure, leaving behind crisp detail and a slight indentation that defines Letterpress printing.
This method differs from digital printing by offering a physical texture you can see and feel. The beauty lies in the precision of the impression and the subtle depth it creates.
UV printing
UV printing is a form of digital printing that uses ultra-violet lights to dry or cure ink as it is printed. As the printer distributes ink on the surface of a material (called a "substrate"),
specially designed UV lights follow close behind, curing - or drying - the ink instantly. This unique printing method allows us to create gorgeously detailed wedding invitations with a raised print similar to thermography printing, in full color.
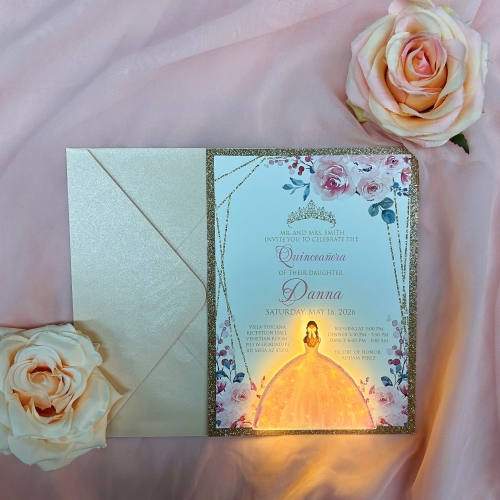
Foil printing
Foil stamping is also known as "foil embossing" or "hot foil stamping". It's exactly the same technique, a traditional artisan method of hand printing. This prized printing method allows us to create simply, stunning wedding invitations and what's more, you have the option to foil print all of the wording in a single design or you can combine foil stamping with digital printing.
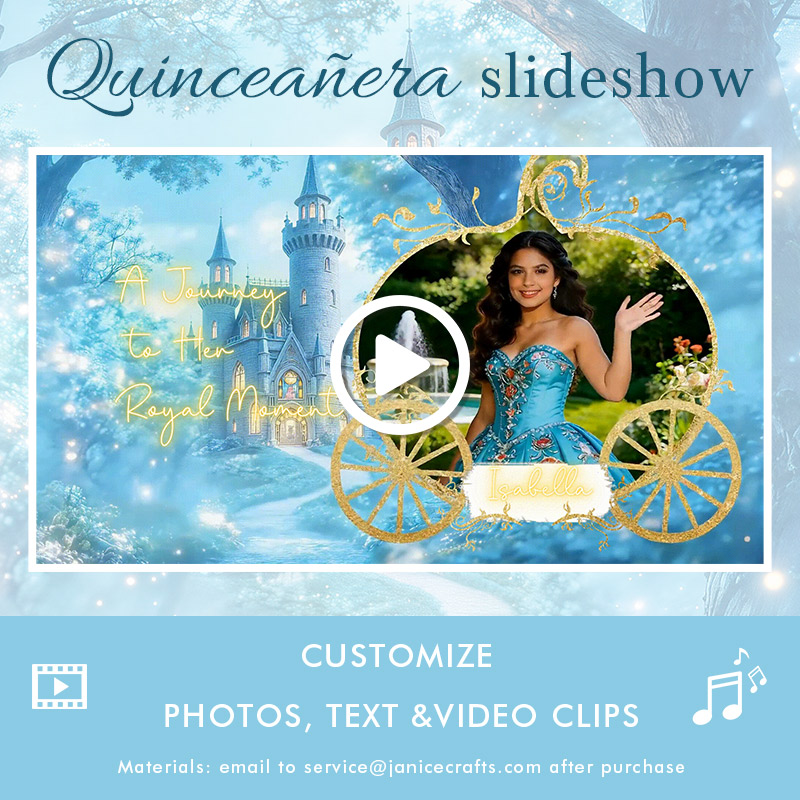
Invitation Customization
Step 1 : Open the homepage.
Step 2 : Hover over the menu
Step 3 : Select "Customized Service" from the drop-down menu to view options such as: in the top navigation.Customized LED greeting cards, cake toppers, frames and flower decors etc. Choose the option that best fits your needs. If you're unsure about any customization, feel free to contact us for assistance!
How to do Guest Address?
Option 1: Provide us a PDF file
If you have design capabilities, send a completed PDF file with the final font, ink color, and all guest addresses. We will print it exactly as provided.
File Requirements:
For example, if you have 108 guest addresses, you should create 6 PDF files (5 files with 20 addresses each, and 1 file with 8 addresses).
Each PDF should contain 4 pages, with 4 guest addresses per page, totaling 20 addresses per PDF.
Option 2: Provide an Excel File
If you need us to format the guest addresses, provide an Excel file using our template. The template has 4 columns:
Columns 1 & 2: Same font, color, and size.
Columns 3 & 4: Same font, color, and size.
After placing your order, we will send you the Excel template.For any questions, contact your sales representative.
How to do E-proof
Step 1 : Locate the”Invitation Template” section at the bottom of the homepage.
Step 2 : Select your preferred invitation design.
Step 3 : Customize the invitation to your liking.
Step 4 : Save your edited template and copy the e-proof code. Please email it to us or include it in the “Special Requirements”section when placing your order.
How to download Free Images?
Step 1: Log in to your account.
Step 2: Select a subcategory from the drop-down navigation, such as "welcome sign" for YK070.
Step 3: Once in the subcategory, click the "Download Image" button on the left side to access the download interface.
Step 4: A download button will appear under each product. Check the desired images and click "Submit" on the left. The images will be sent to your registered email.
Note: Users without an image package can download 10 images for free.
Package subscribers can download all images.Choose the images that best fit your needs!
How to Assemble and Use the Glowing Product?
We use cell batteries, either CR2025 or CR2032. These batteries are easily available worldwide, and customers can replace or install them on their own.
Each glowing product has a hidden battery compartment on the back. Simply insert the battery, and you can easily turn on the switch located on the battery compartment.
Our products offer a battery life of over 10 hours. To ensure optimal brightness, we recommend using the product within 10 hours.
How to Assemble 3D Acrylic Tags to Welcome Sign?
Step 1 : Clean Surfaces: Ensure that the surface of both the sign and the carved letters is clean and free of dust or grease to enhance adhesion.
Step 2 : Peel off the double-sided tape from the back of the 3D tag.
Step 3 : Attach Letters: Carefully place the glued carved letters onto the marked positions, holding them in place for a moment to ensure adhesion. You can use a level to ensure the letters are arranged straight.
How to Assemble Double Layer Table Number?
Step 1 : Peel off the protective film from the acrylic.
Step 2 : Remove the double-sided adhesive tape from the back of 3D Acrylic Tag.
Step 3 : Align 3D Acrylic Tag with the positioning guide and press them firmly into place.
Step 4 : Peel off the protective film from the front side of the 3D Acrylic Tag.
Step 5 : Assemble the two acrylic panels together using letter rivets.
How to Assemble Flower Box Sign?
How to Assemble Flower Box Sign
You will receive 4 individual panels.
Step 1 : locate the right-side panel and bottom panel.
Step 2 : Attach the Right-Side Panel: Peel off the double-sided tape from the edges of the right-side panel. Align and firmly press it onto the back panel.
Step 3 : Attach the Bottom Panel: Peel off the double-sided tape from the edges of the bottom panel. Align it with the right-side panel and press firmly onto the back panel.
Step 4 : Connect the Front Panel: Take the front panel (with printed design/text). Align it with both the right-side panel and bottom panel, then press all edges securely to complete the assembly.
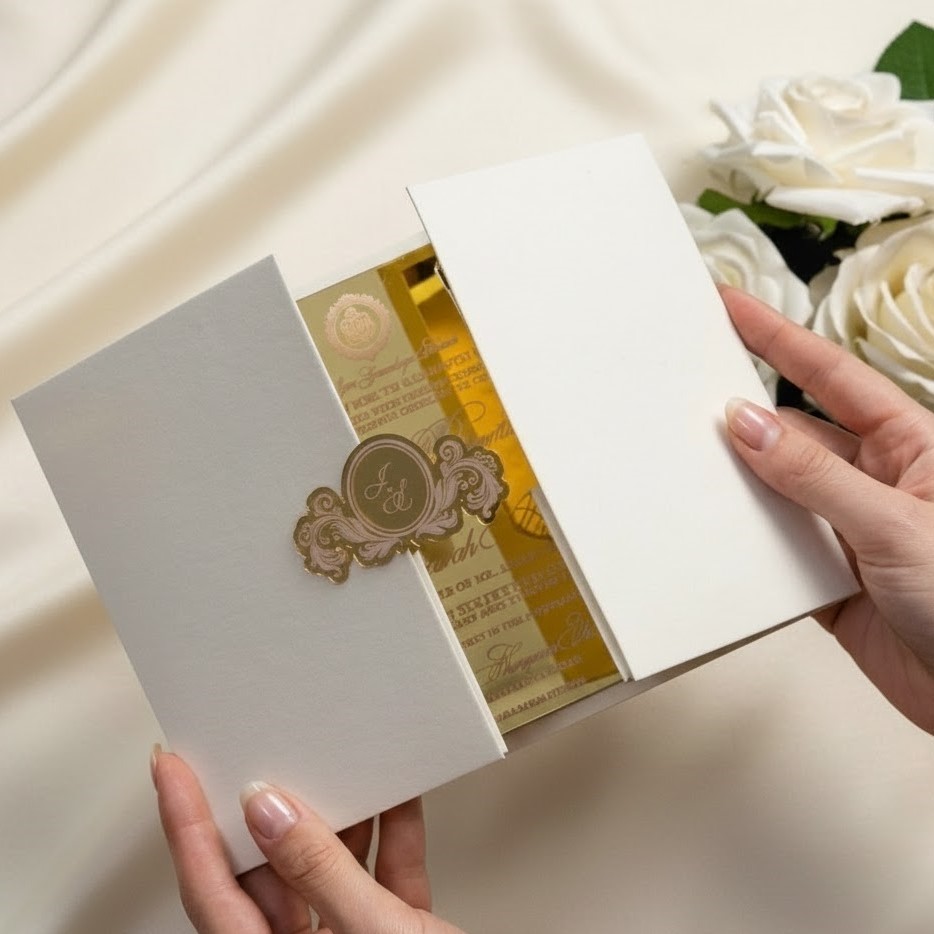
How to Fix the Paper corner to Pocket Invitation?
Step 1 : Remove the double-sided adhesive tape from the back of the paper corner.
Step 2 : Align one side of the paper corner with the desired position and press it down.
Step 3 : Insert the acrylic invitation into the paper corner.
Step 4 : Finally, align and secure the other side of the paper corner.